Installing LaraDashboard is super simple.
Before starting, you can check a demo of Lara Dashboard – Try demo here
Pre requisite to install Lara Dashboard #
To install Lara Dashboard, we have some pre-requisites here –
- PHP >= 8.3
- Node JS >= 20.0
Download Lara Dashboard #
First, lets download our application zip file –
After Downloading this zip, lets extract it in your respective folder.
Install Composer and NPM #
Lets install the composer and node for the project.
cd laradashboard-main # assuming, you've extracted in laradashboard-main
composer install
npm install
Migrate database with seeder #
Create database called – laradashboard
Create .env file by copying .env.example file.
Genera Artisan key and necessary linkings #
php artisan key:generate
php artisan storage:link
Now, generate fresh migration with seeder –
php artisan migrate:fresh --seed && php artisan module:seedStart Server – PHP & Node #
composer run devWhy start PHP server –
For easy start, we can just start this application in http://localhost:8000.
Why Npm –
We’ve used Tailwind CSS and module based JavaScript, which requires to compile the script and we’ve used Vite for that. so, to compile the tailwind css styles and module scripts, we need to run npm run dev.
So, You’ve got the project of Lara Dashboard on your http://localhost:8000
Demo Login #
If you run the seeder successfully, you can now use the below credentials to login easily.
Email - superadmin@example.com
password - 12345678
If you still have any confusion, please reach out to our support.
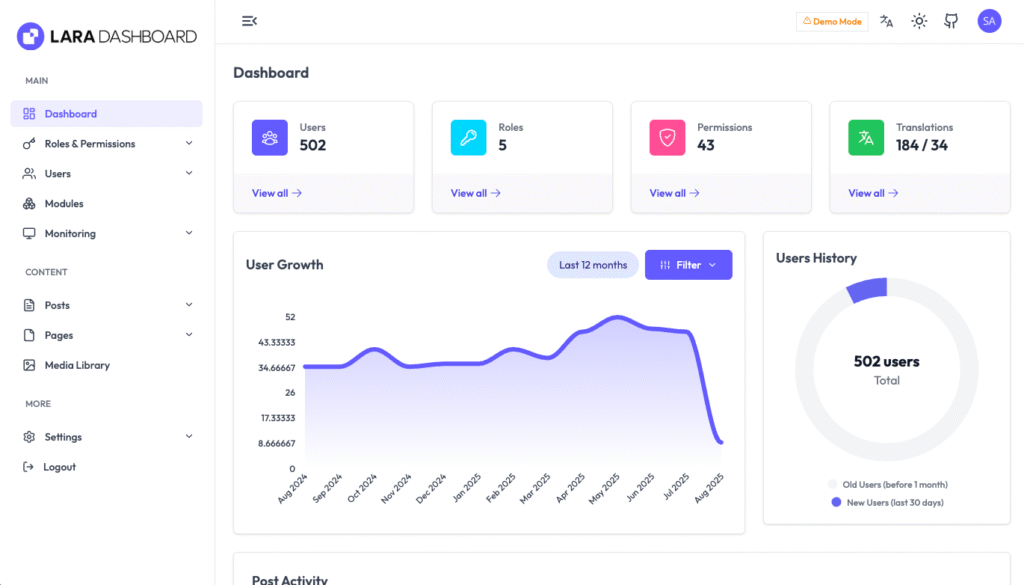
After successfull login, you’ll be able to see this demo in your Lara Dashboard.