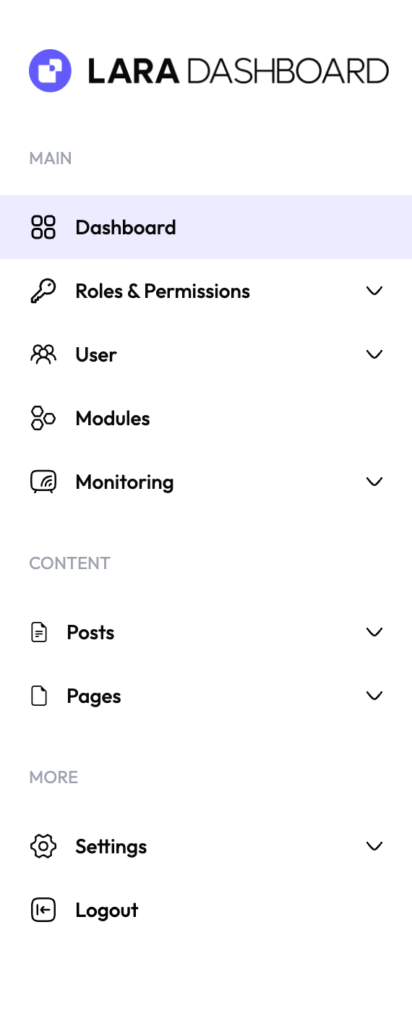
In Lara Dashboard, menus are the things which can add sidebar menus easily to your application. In this documentation, we’ll discuss the architecture and setup how we can can create menus, update menus, change existing menus and so on.
Create Menu #
ld_add_filter('admin_menu_groups_before_sorting', 'addMenu');

function addMenu(array $groups): array
{
        $groups[__('Main')][] = (new AdminMenuItem())->setAttributes([
            'label' => __('Sample Menu'),
            'iconClass' => 'bi bi-list-task', // bootstrap icon. or icon => if you want to use svg.
            'route' => route('admin.tasks.index'), // route name.
            'active' => Route::is('admin.tasks.*'), // which route menu would be act as active menu.
            'id' => 'sample_menu_id', // unique ID for the menu.
            'priority' => 21, // menu priority in sidebar, lowest will be shown at first.
            'permissions' => [],
            'children' => [], // provide child menu if needed.
        ]);

        return $groups;
}
This is how a simple Sample Menu will be created in sidebar below User menu.
How to add Child Menu #
'children' => [
            (new AdminMenuItem())->setAttributes([
                'label' => __('Tasks List'),
                'route' => route('admin.tasks.index'),
                'active' => Route::is('admin.tasks.index'),
                'priority' => 1,
                'id' => 'tasks_manager_index',
                'permissions' => [],
            ]),
            (new AdminMenuItem())->setAttributes([
                'label' => __('New Task'),
                'route' => route('admin.tasks.create'),
                'active' => Route::is('admin.tasks.create'),
                'priority' => 2,
                'id' => 'tasks_manager_create',
                'permissions' => [],
            ])
        ]
Step by step guide to Create Menu real-life #
For this tutorial, lets assume we’re going to create a task manager menu with submenus for that. Lets do that step by step.
Step 1: Add routes to web.php
<?php

use Illuminate\Support\Facades\Route;
use Modules\TaskManager\Http\Controllers\TaskManagerController;

Route::middleware(['auth', 'verified'])
    ->prefix('admin')
    ->name('admin.')
    ->group(function () {
        Route::resource('tasks', TaskManagerController::class)
            ->names('tasks');
    });
Step 2: From Service class or from anywhere we need to call `admin_menu_groups_before_sorting` filter hook.
Also you may need to call this TaskManagerService from your module TaskManagerServiceProvider.php file’s boot() method –
use Modules\TaskManager\Services\TaskManagerService;

public function boot(): void
{
        // rest of the things.

        $this->app->booted(function () {
            $this->app->make(TaskManagerService::class)->bootstrap();
        });
}
<?php
namespace Modules\TaskManager\Services;
use App\Services\MenuService\AdminMenuItem;
use Illuminate\Support\Facades\Route;
class TaskManagerService
{
public function bootstrap()
{
ld_add_filter('admin_menu_groups_before_sorting', [$this, 'addTaskManagerMenu']);
}
public function addTaskManagerMenu(array $groups): array
{
$childMenusItems = [
(new AdminMenuItem())->setAttributes([
'label' => __('Tasks List'),
'route' => route('admin.tasks.index'),
'active' => Route::is('admin.tasks.index'),
'priority' => 1,
'id' => 'tasks_manager_index',
'permissions' => [],
]),
(new AdminMenuItem())->setAttributes([
'label' => __('New Task'),
'route' => route('admin.tasks.create'),
'active' => Route::is('admin.tasks.create'),
'priority' => 2,
'id' => 'tasks_manager_create',
'permissions' => [],
])
];
$adminMenuItem = (new AdminMenuItem())->setAttributes([
'label' => __('Task Manager'),
'iconClass' => 'bi bi-list-task',
'route' => route('admin.tasks.index'),
'active' => Route::is('admin.tasks.*'),
'id' => 'task-manager',
'priority' => 21,
'permissions' => [],
'children' => $childMenusItems,
]);
$groups[__('Main')][] = $adminMenuItem;
return $groups;
}
}So, in the above example, we’ve created a menu like this –
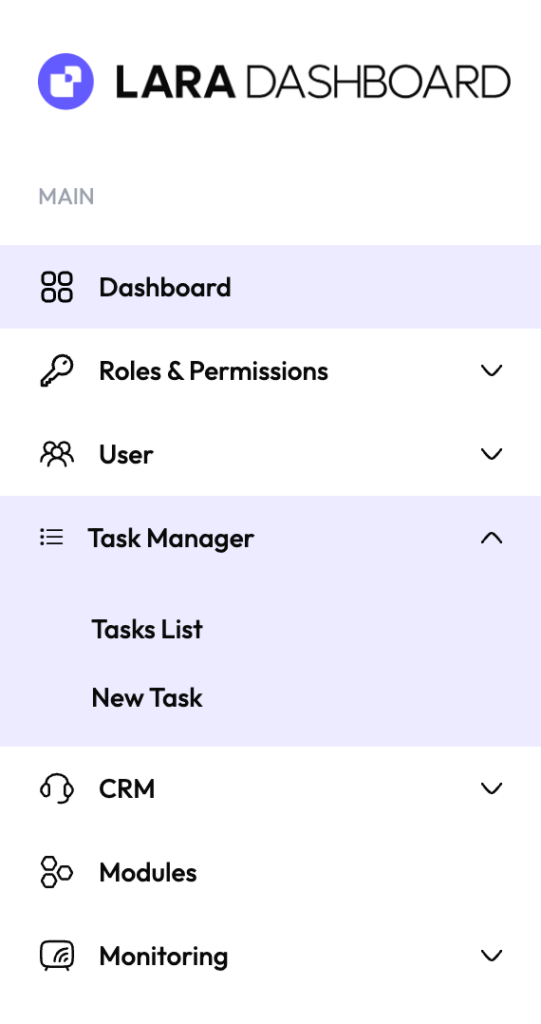
This is a very easy steps to show you how to create menus in Lara Dashboard easily.


